The NoSolar Variant Is Alive — Soldered, Battery-Powered, and Charging Over USB
The Dilder has a second enclosure option now: the NoSolar variant — a slimmer build that drops the solar panel cutout from the base plate and shaves 2 mm off the total height. Today it powered on for the first time running entirely off a 10440 Li-ion battery, with USB charging confirmed working through the TP4056 board.
Why a NoSolar Variant?
The solar panel integration was always optional. The AK 62x36mm panel fits nicely in the base plate's cutout, but it adds height, complexity (adhesive bonding, wire routing), and only trickle-charges in ideal conditions. For indoor use — desk companion, shelf pet, bedside buddy — you just want USB-C charging and the thinnest possible case.
The NoSolar macro (dilder_rev2_mk2_no_solar.FCMacro) is a fork of the main Mk2 design with three changes:
- Solar panel pit, wire holes, and solar panel model removed from the base plate
- Base plate height reduced from 6 mm to 4 mm (
bp_h=4.0,floor=0.6) - USB reinforcement block added under the USB-C cutout for structural support
Everything else — the AAA cradle, top cover with screen inlay and joystick hole, thumbpiece — is identical.
First Power-On: Battery and Display
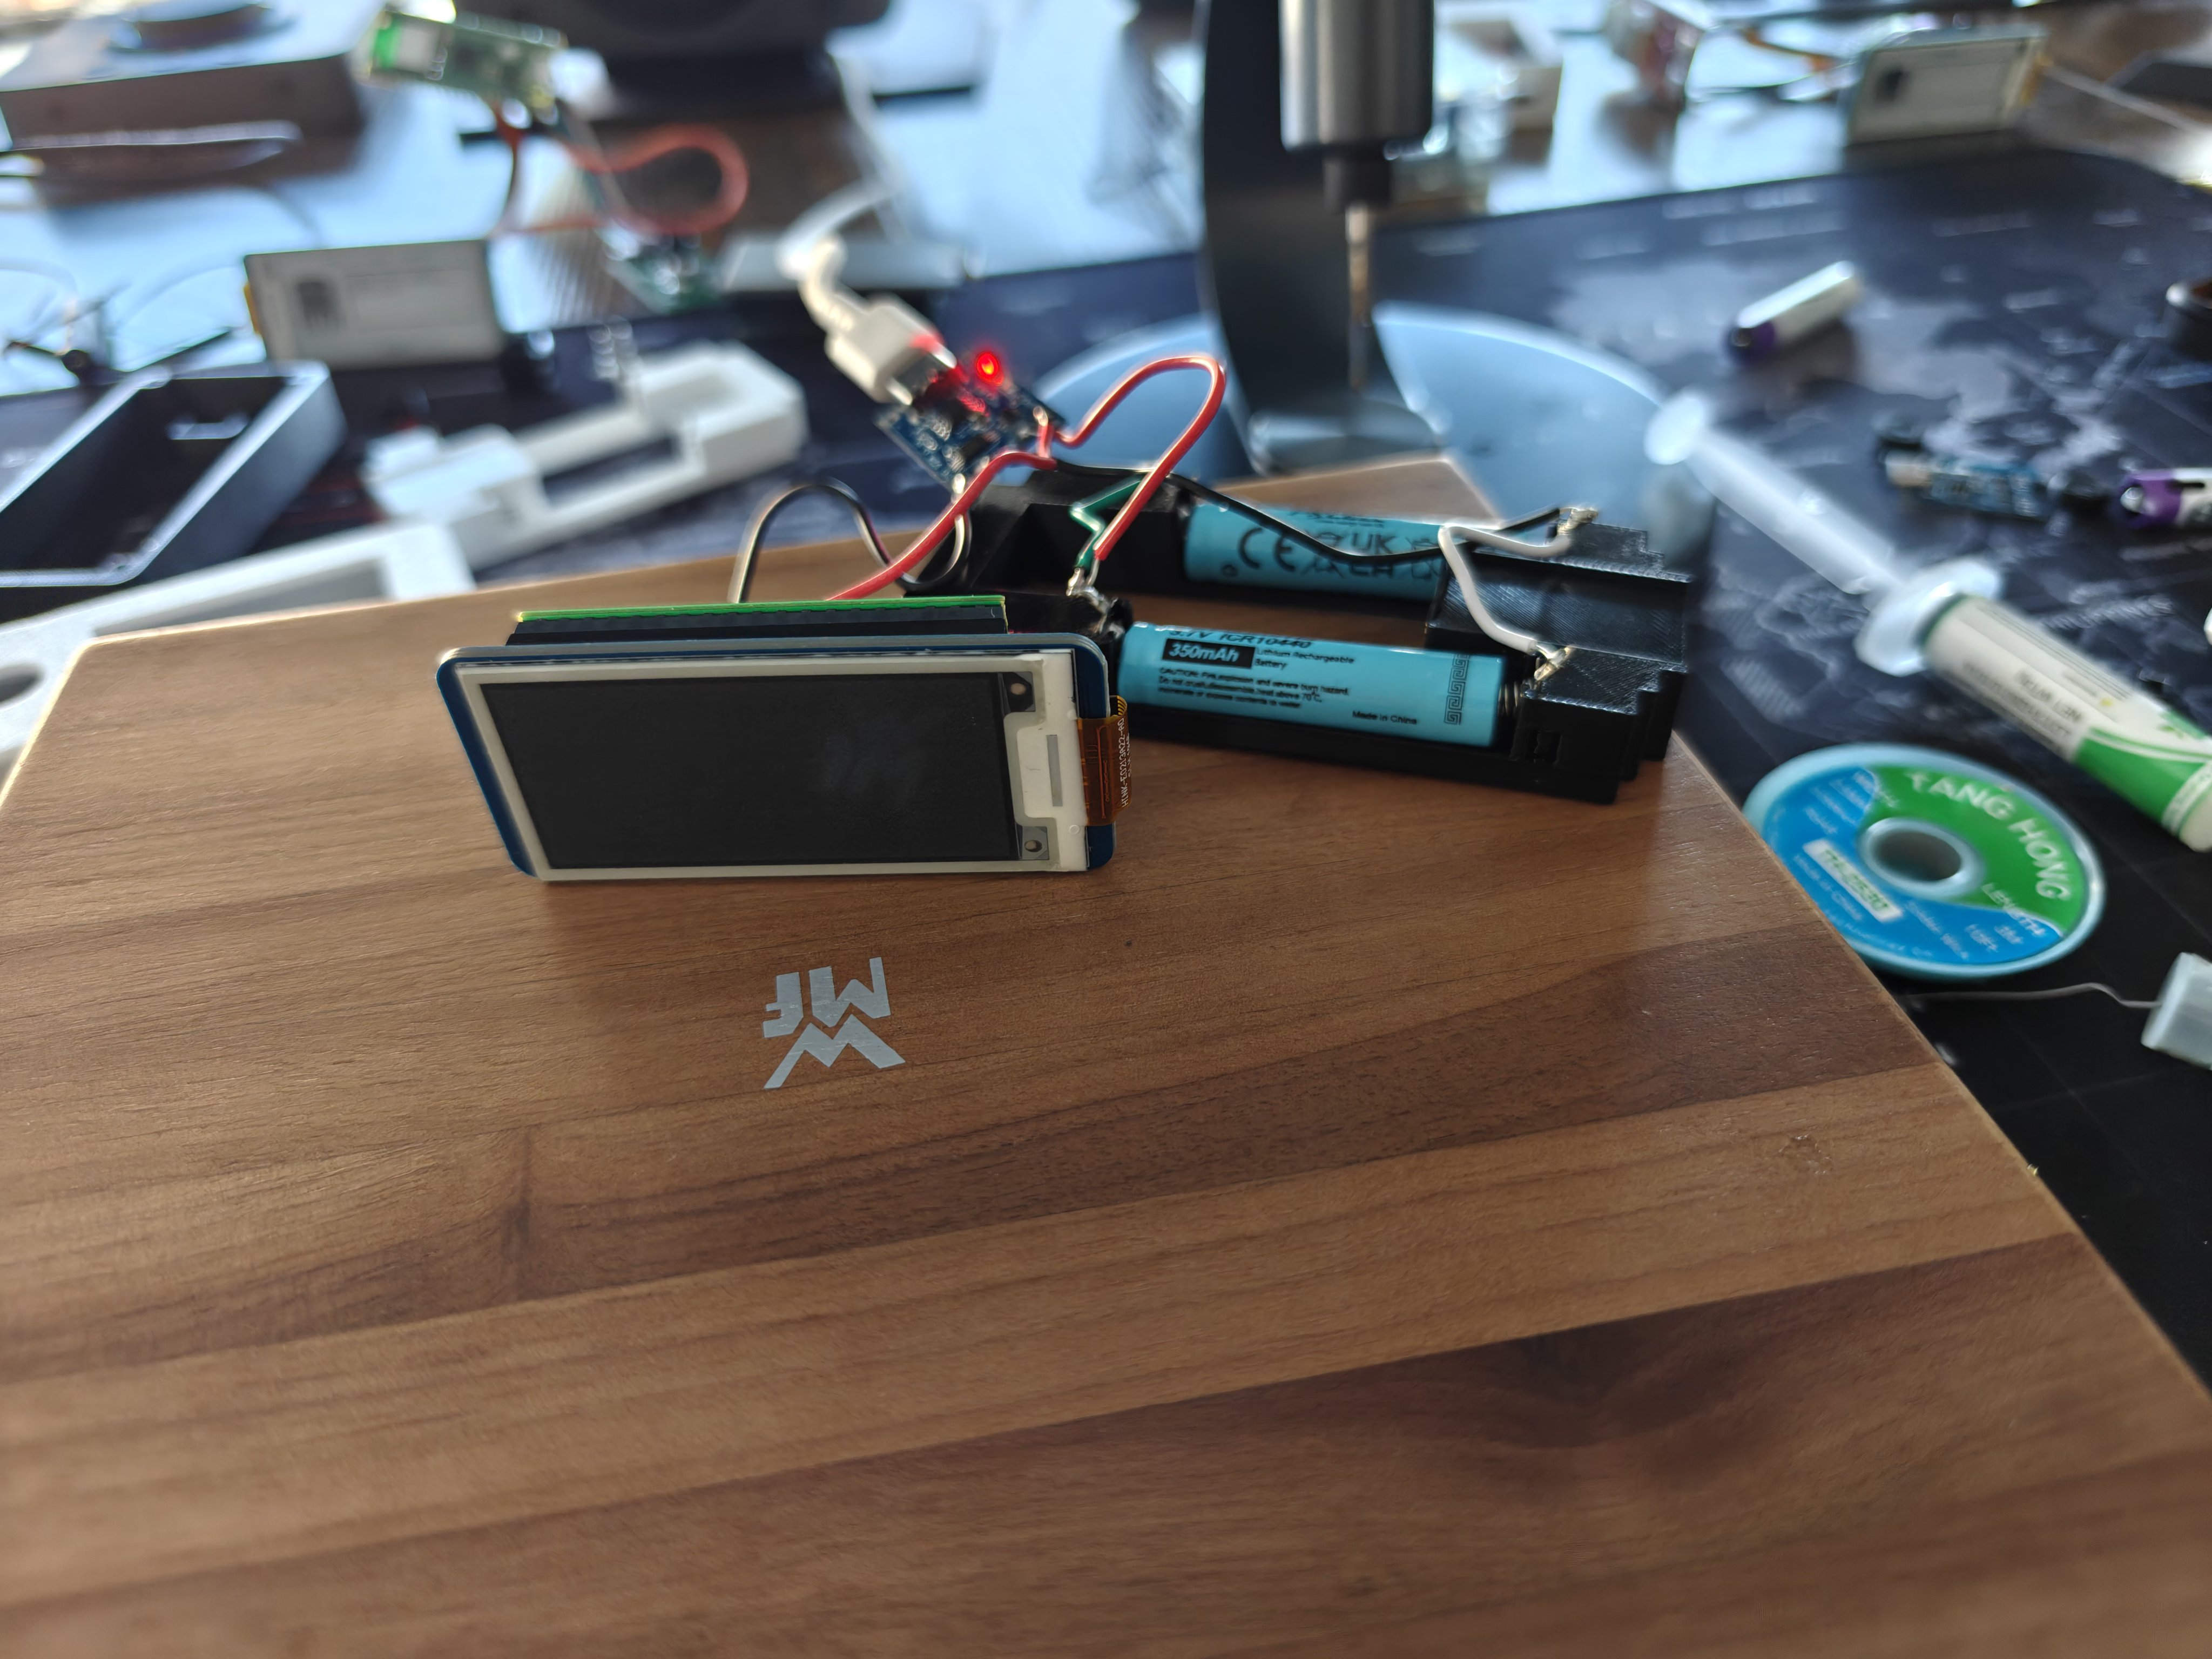
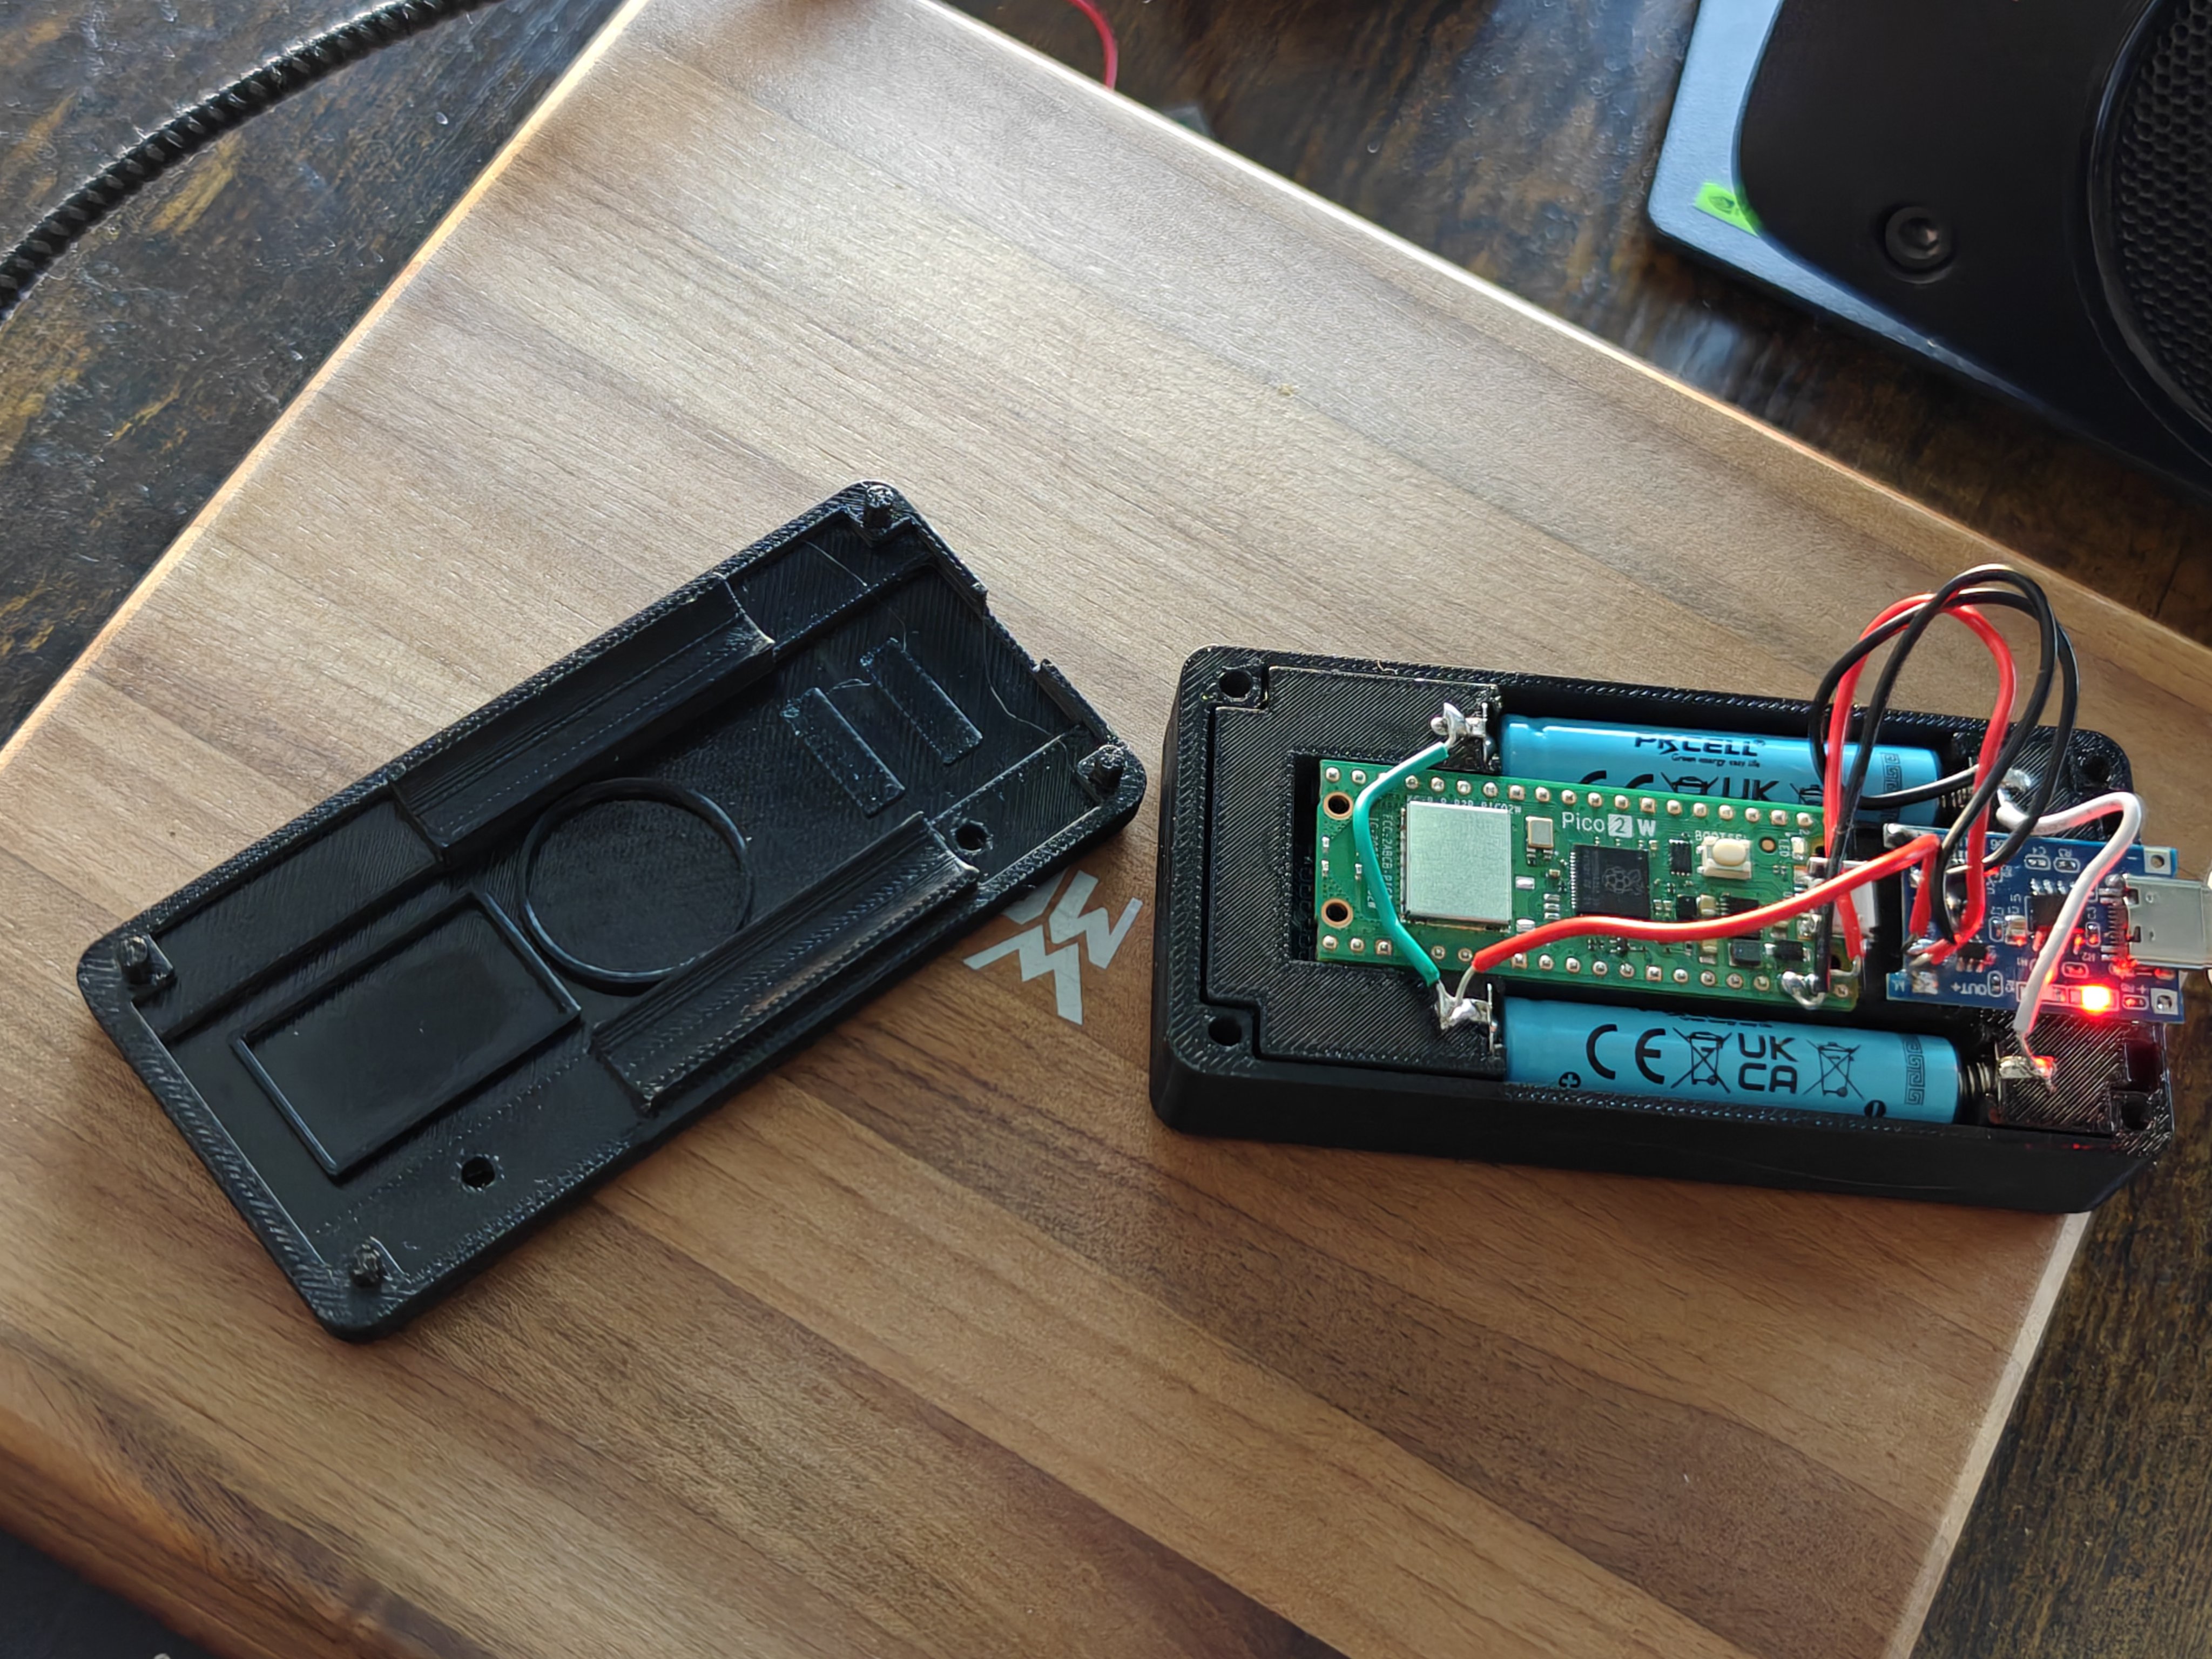
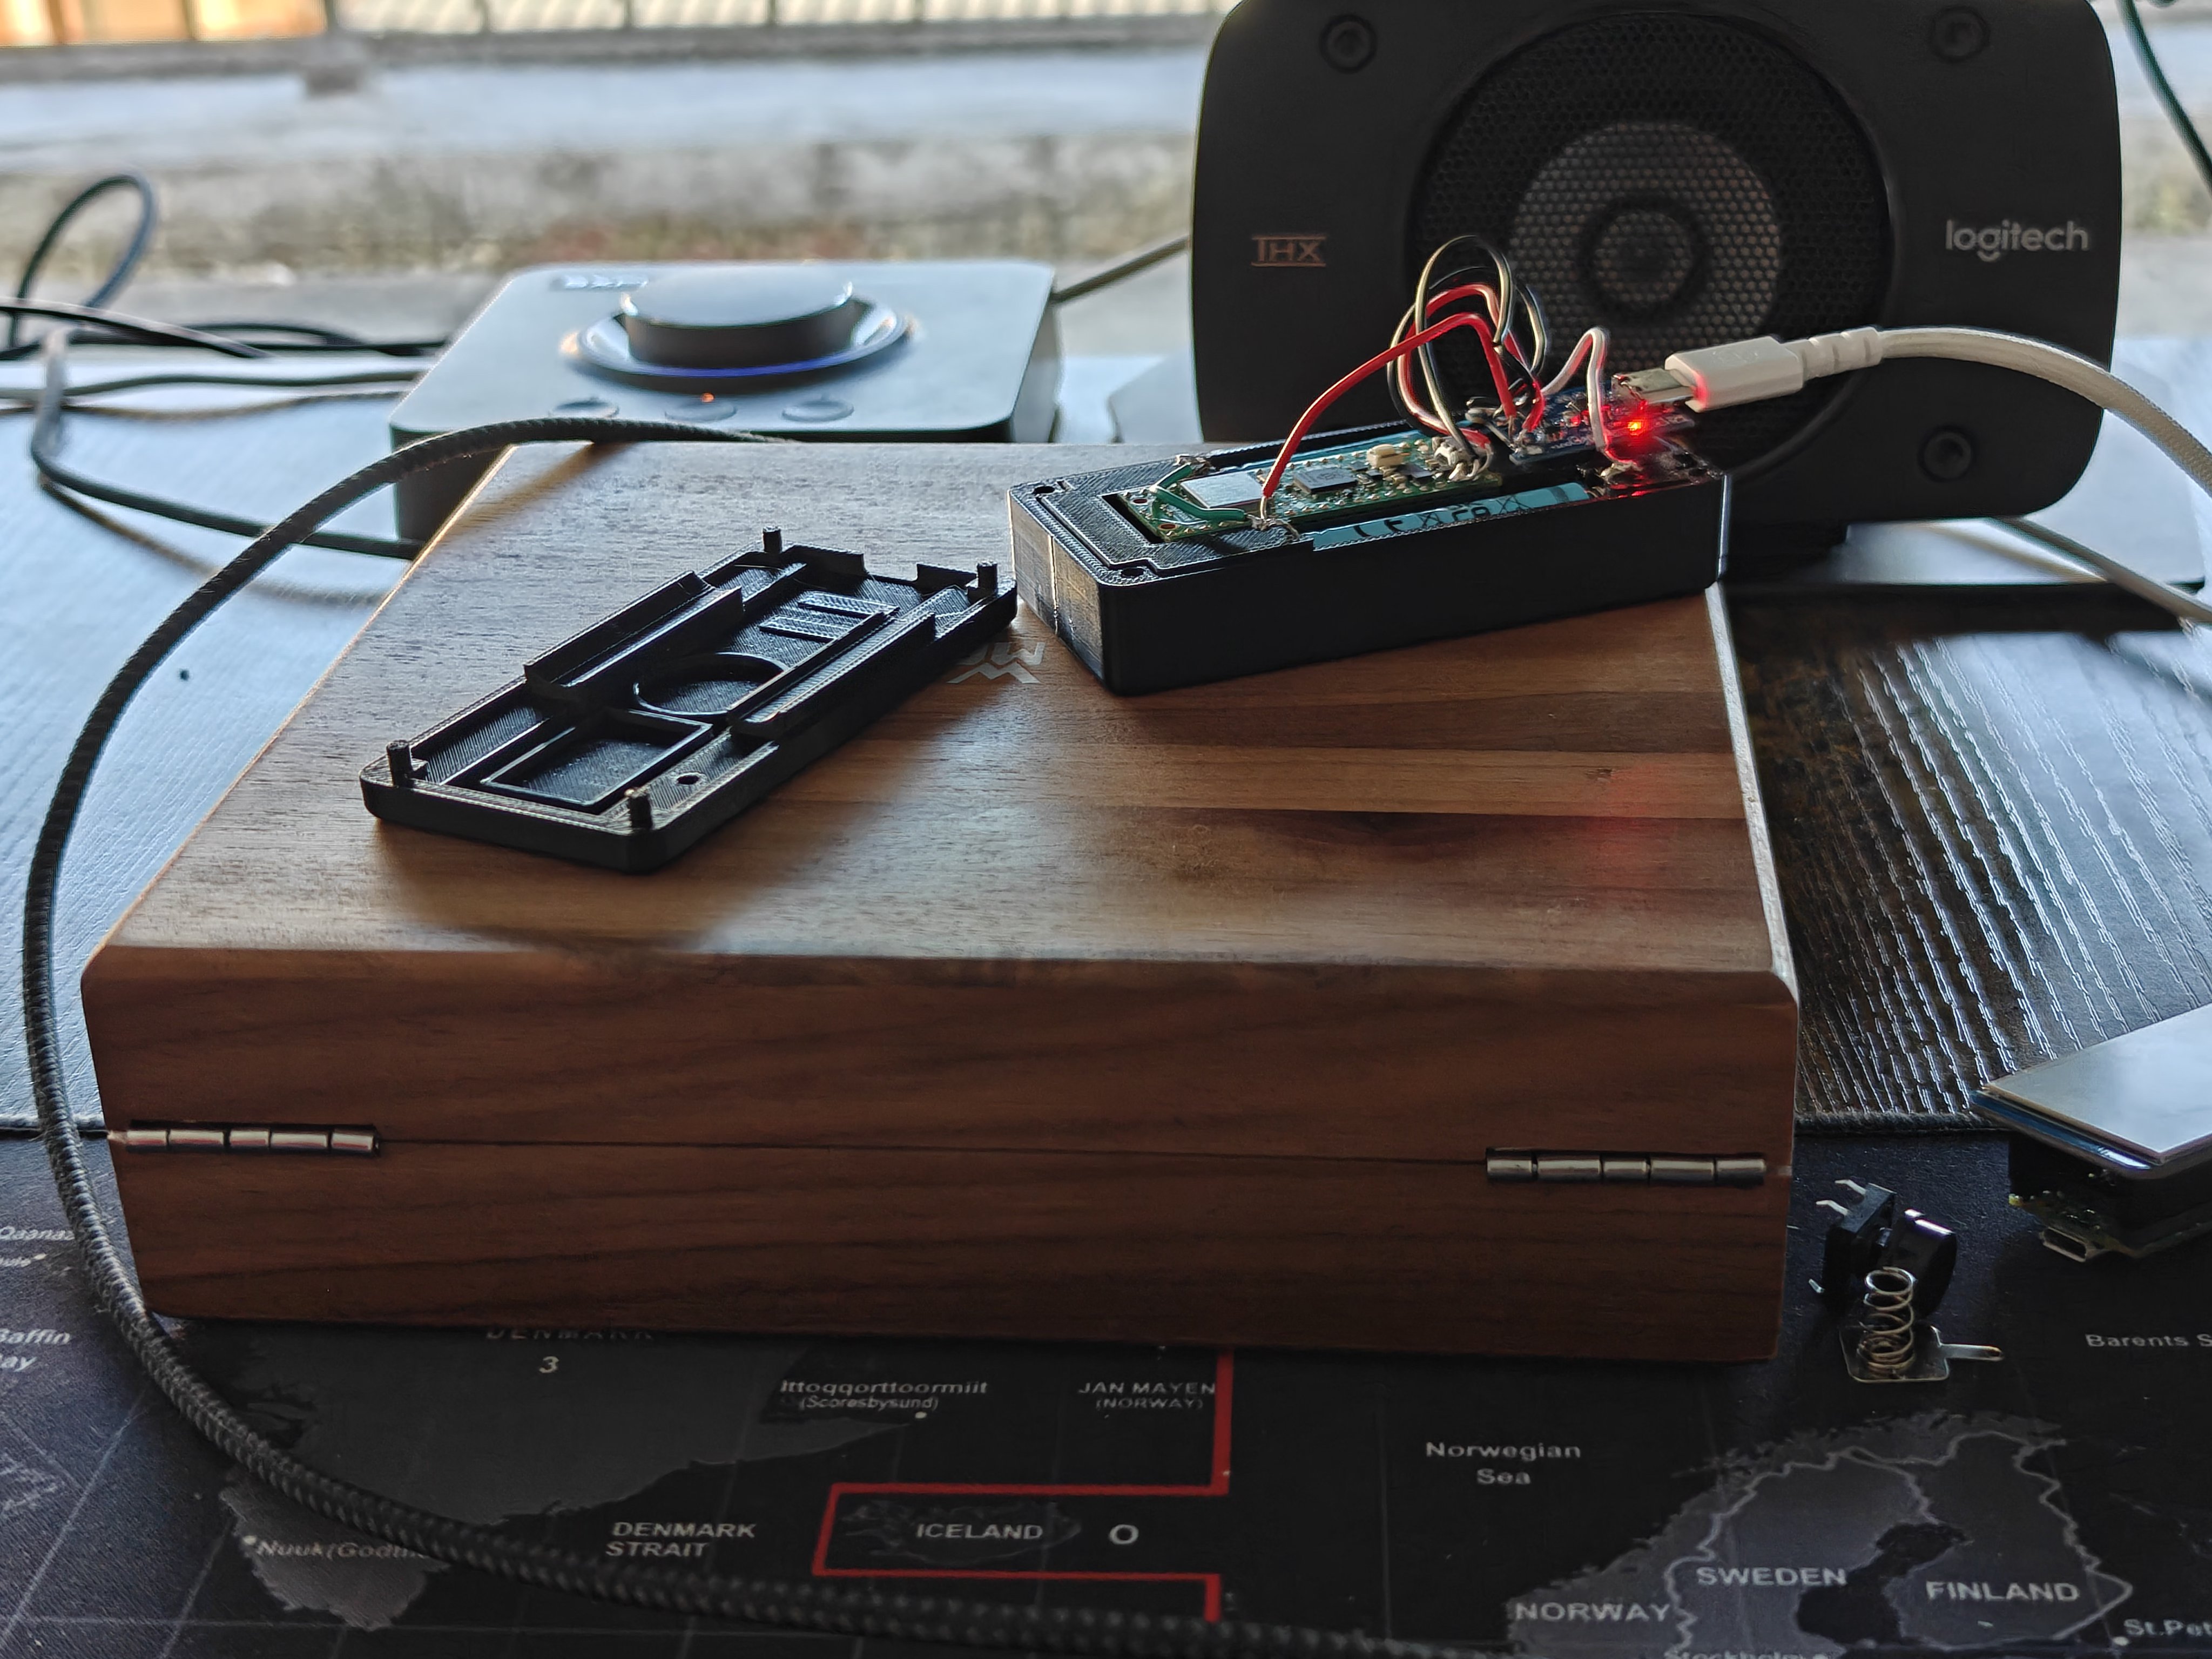
The unit is fully soldered now. The Pico W sits in the AAA cradle's center nest, wired directly to the TP4056 charge board and a single 10440 Li-ion cell (3.7V, 350mAh). No breadboard, no jumper wires — just solder joints and heat shrink.

The NoSolar Case — Open and Closed
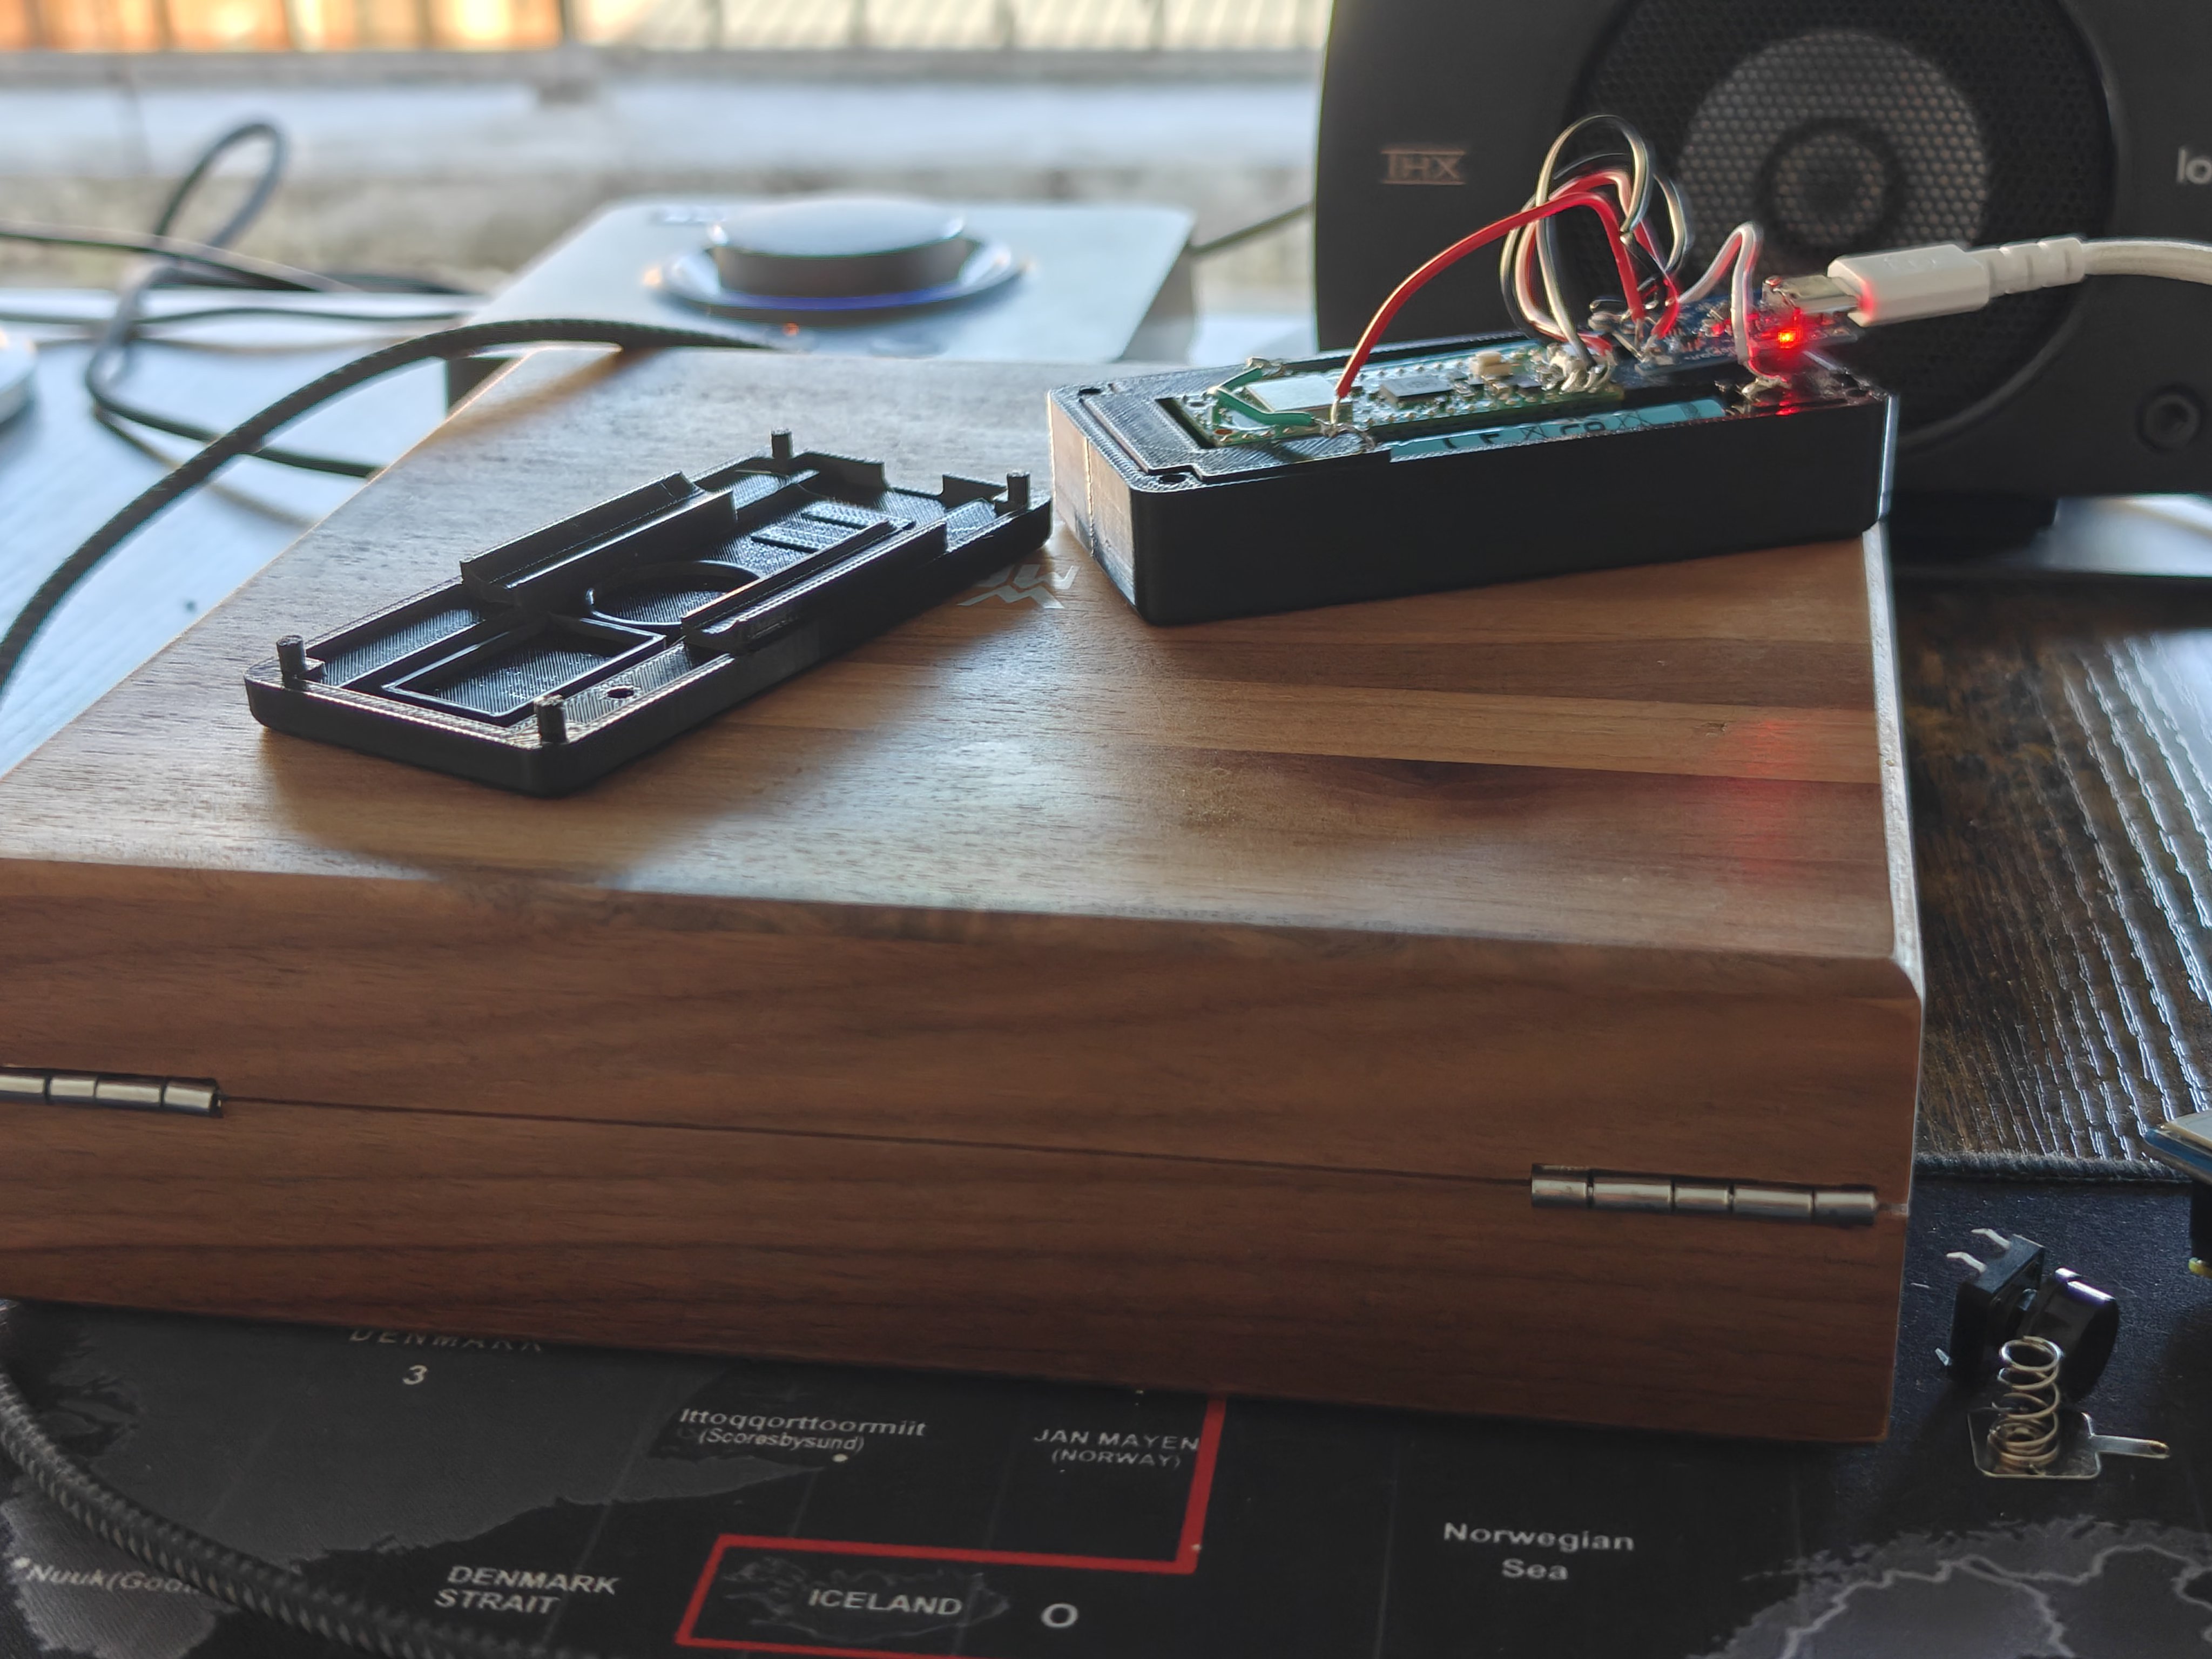
The NoSolar base plate is noticeably slimmer. Without the solar panel pit, the floor can be thinner and the whole case sits lower on the desk.
Fully Assembled and Running
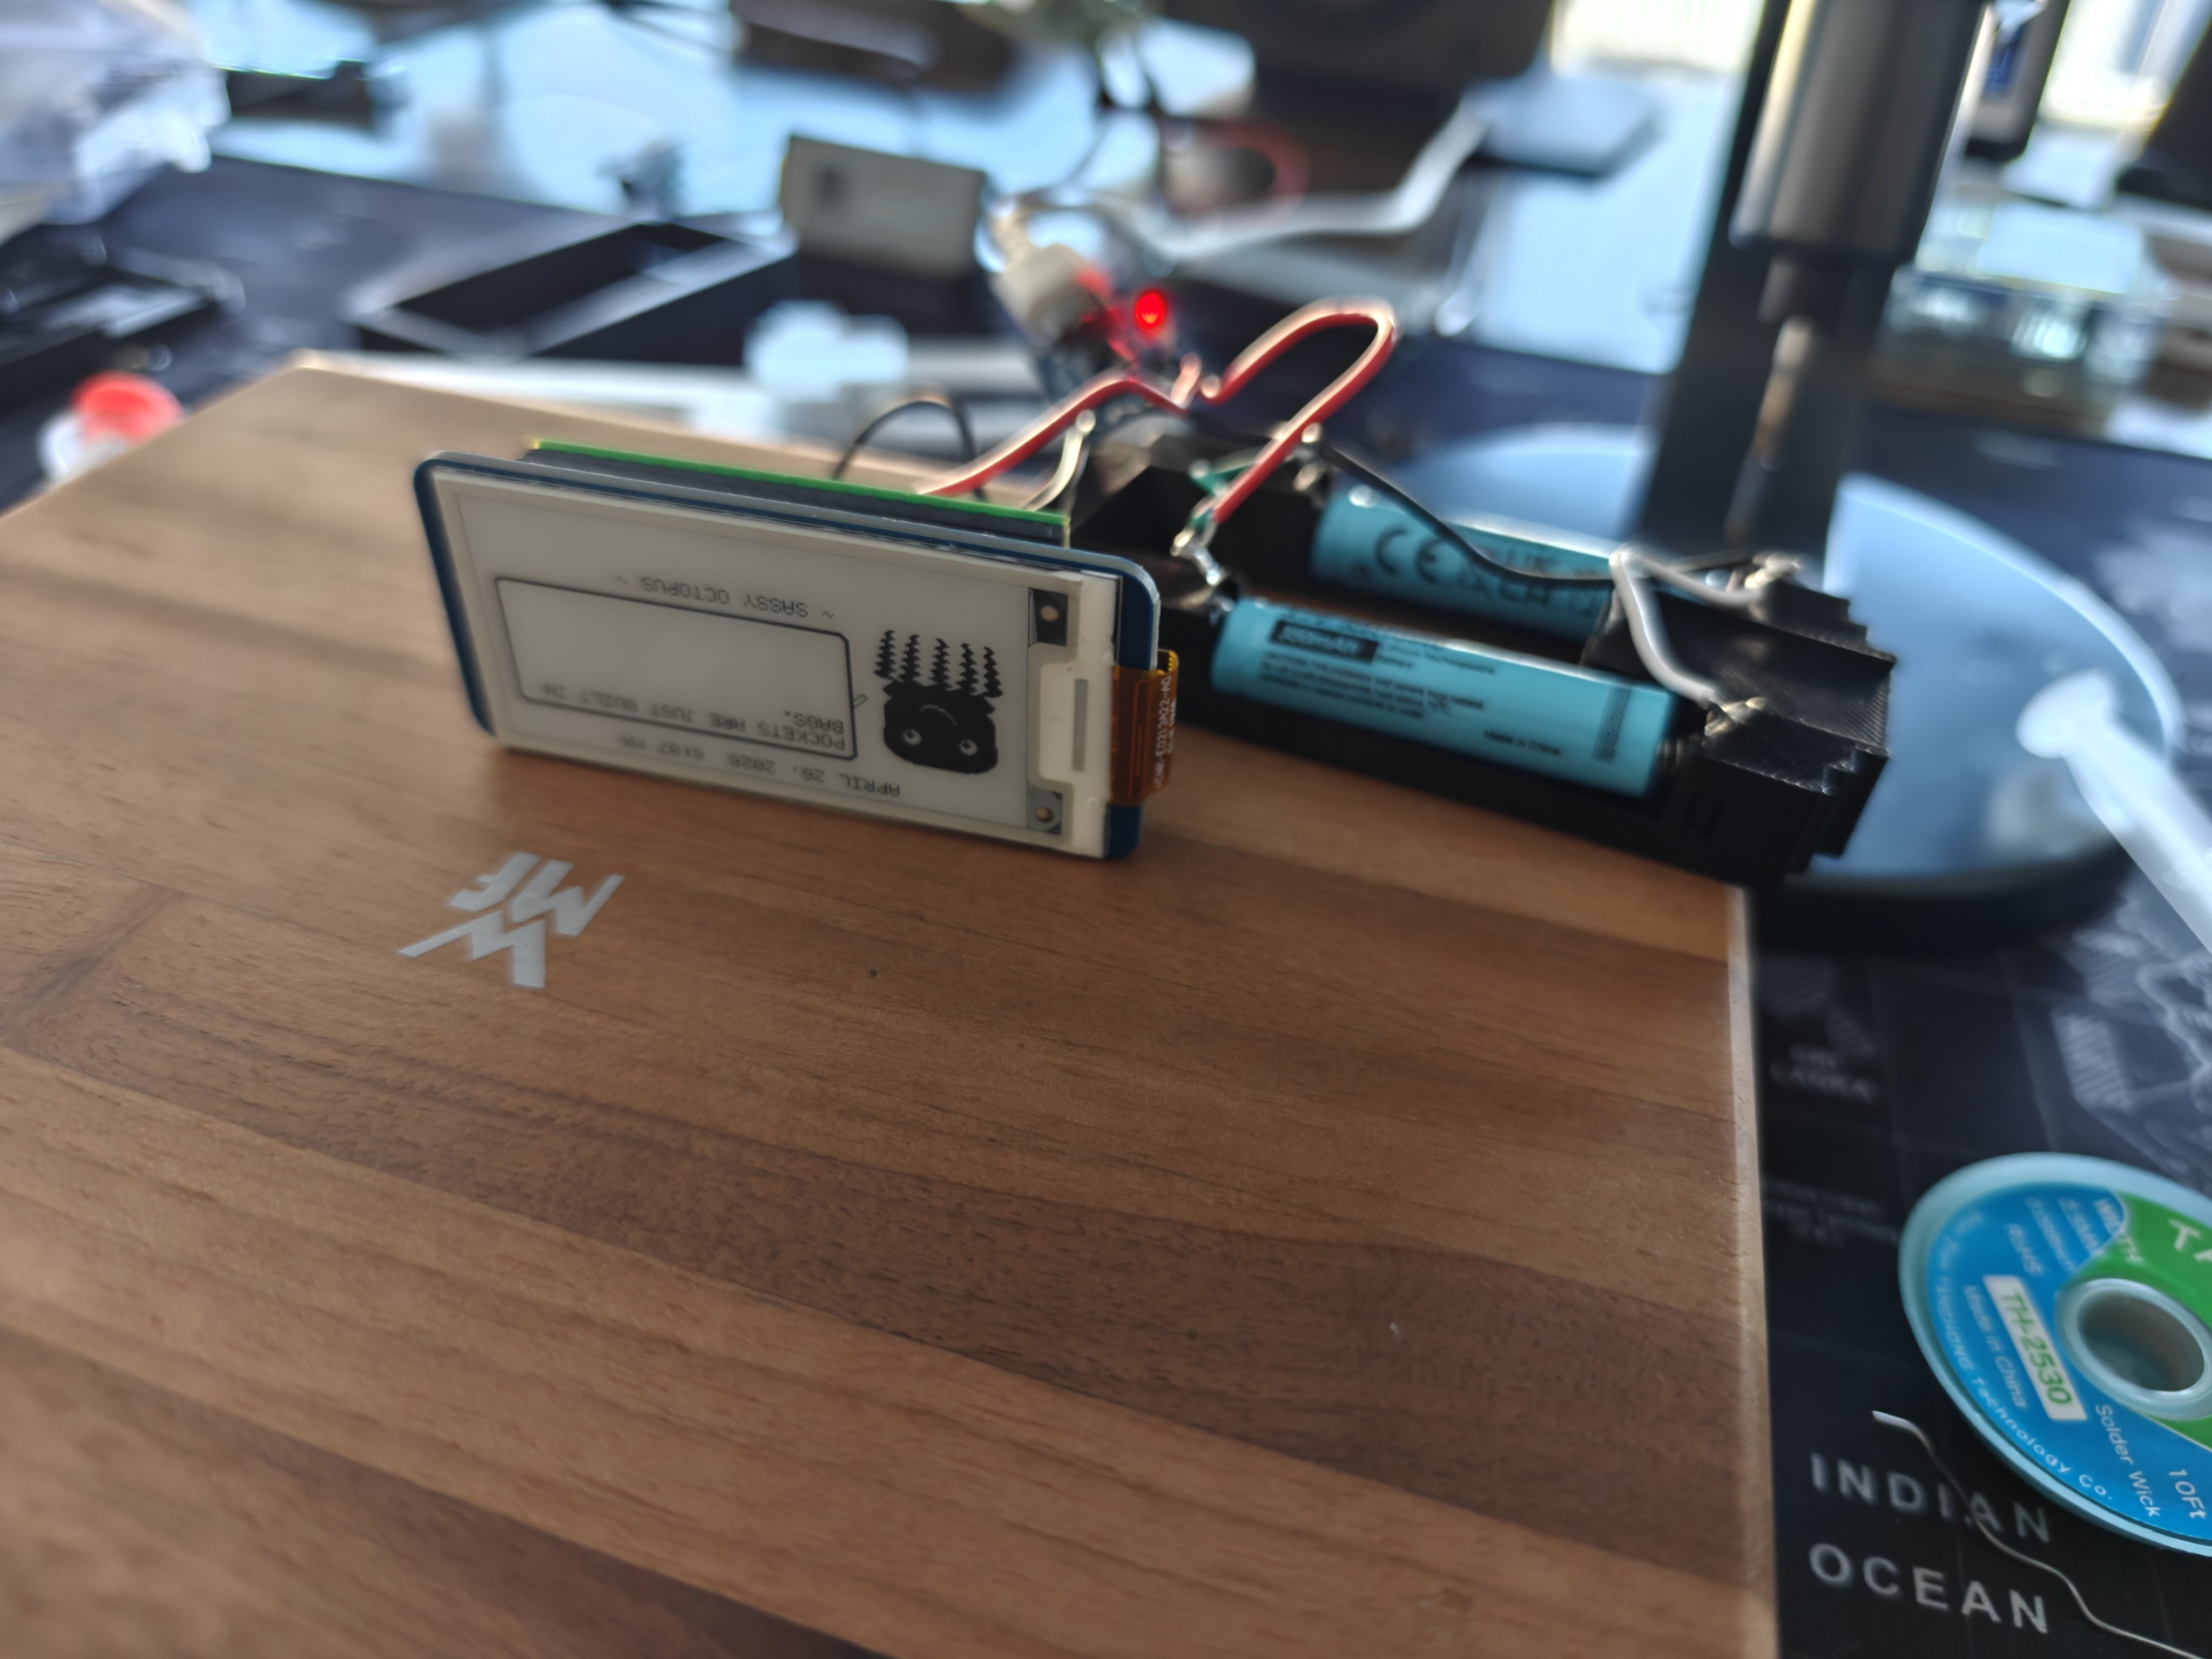
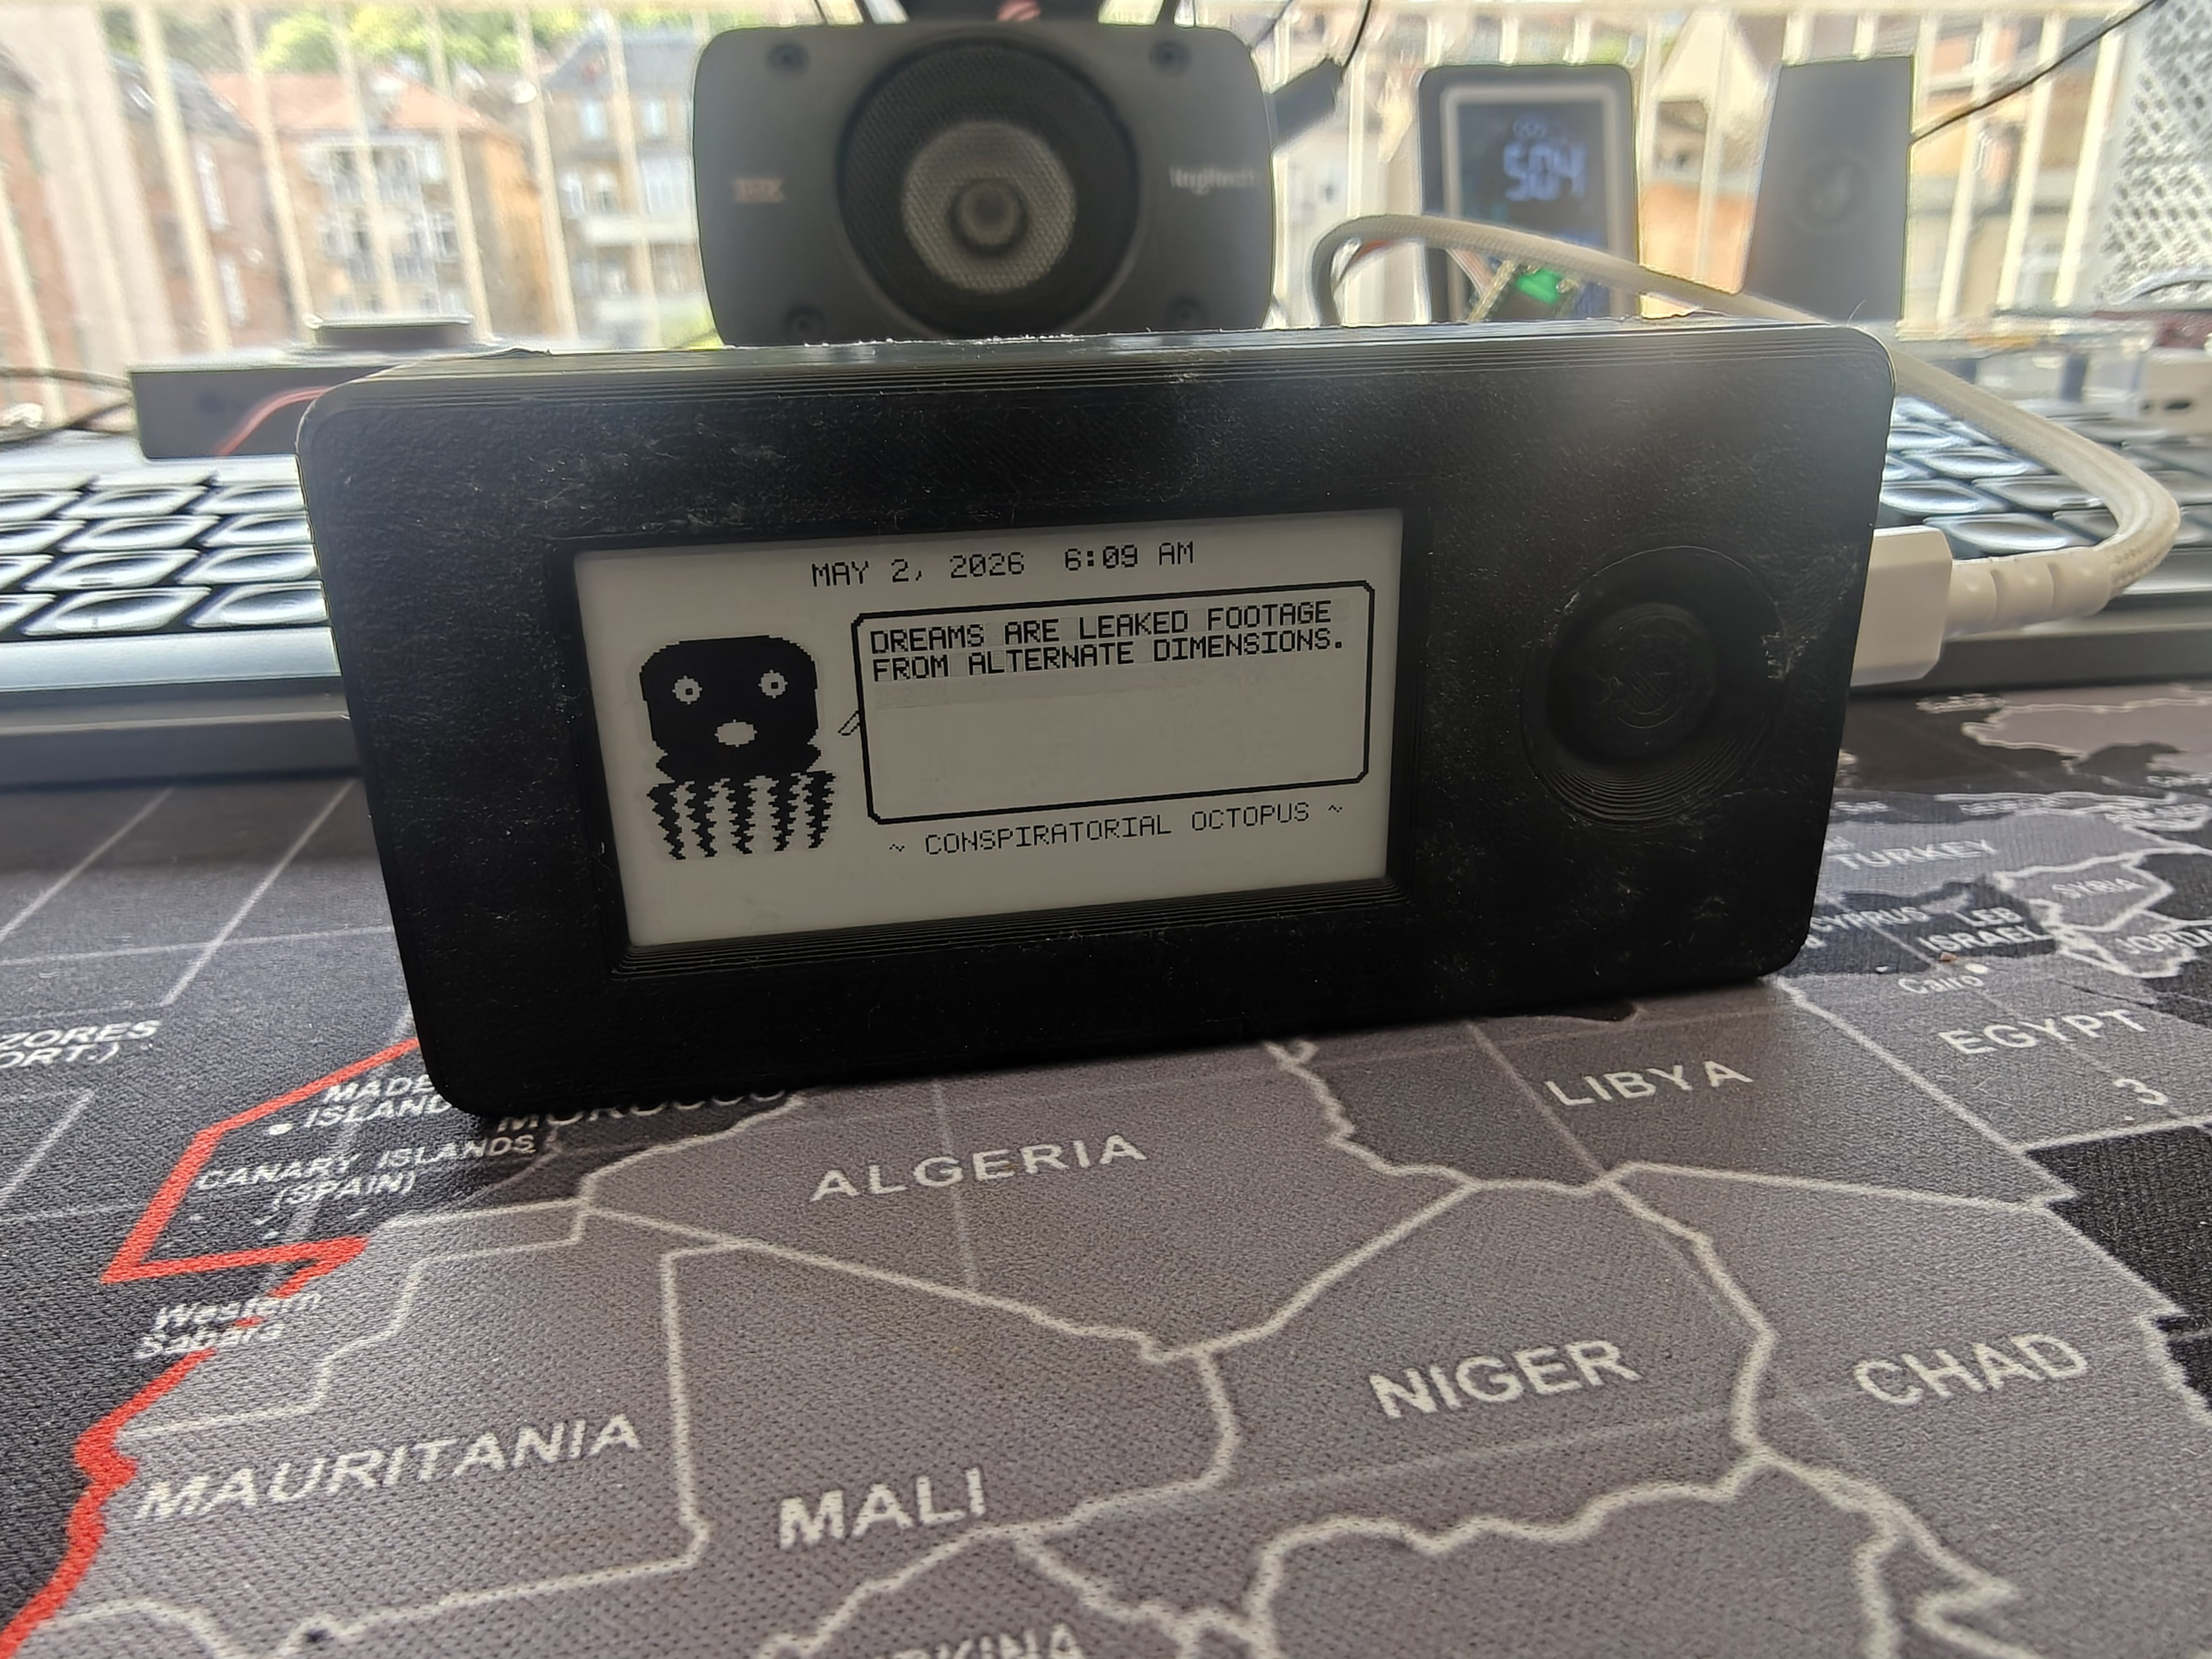
The next morning, everything went back together. The display shows the Conspiratorial Octopus personality running with the RTC clock header — "DREAMS ARE LEAKED FOOTAGE FROM ALTERNATE DIMENSIONS."
The Solar Variant Still Exists
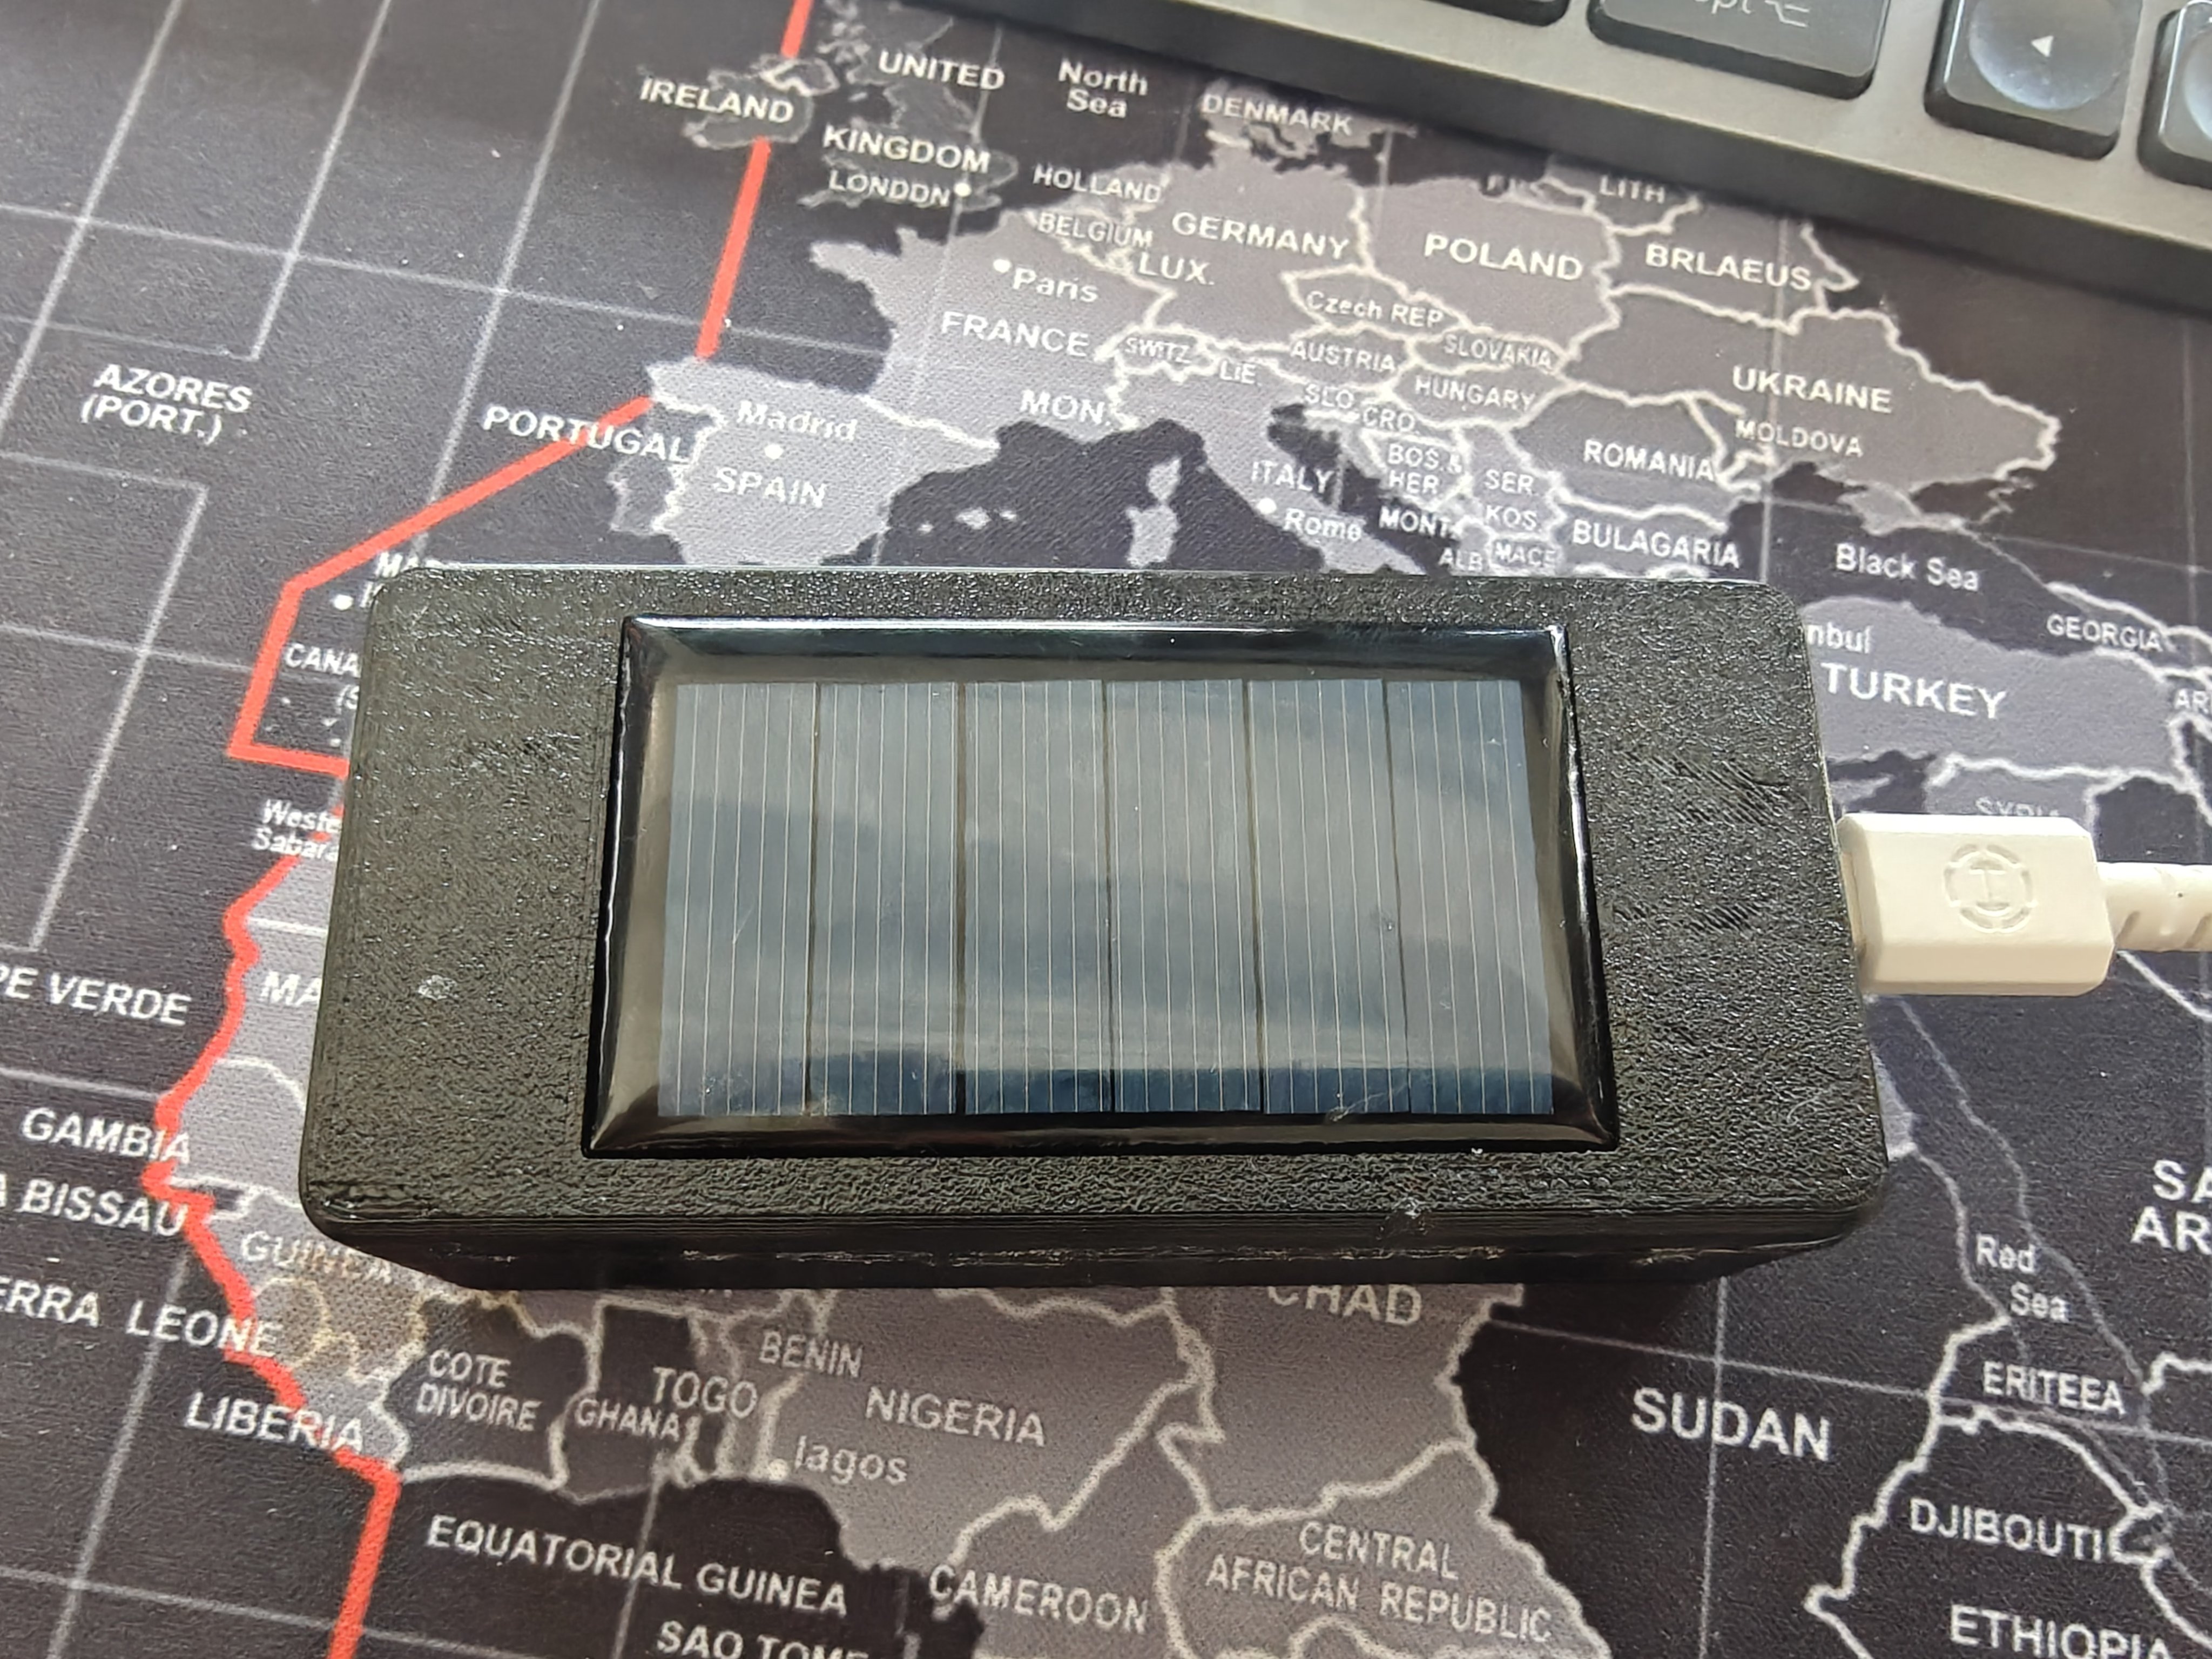
For comparison, here's the original solar panel variant from the back — the AK 62x36mm photovoltaic cells are visible through the base plate's cutout window.
What's Different Between the Two Variants
| Feature | Solar Variant | NoSolar Variant |
|---|---|---|
| Base plate height | 6 mm | 4 mm |
| Solar panel pit | 62x36mm, 2mm deep | None |
| Wire pass-through holes | 2x 3mm | None |
| USB reinforcement | Standard | Added block |
| Weight | Slightly heavier | Lighter |
| Charging | USB-C + solar trickle | USB-C only |
Both variants use the same AAA cradle, top cover, and thumbpiece. Swap the base plate and you switch between solar and non-solar.
3D Printing the Parts
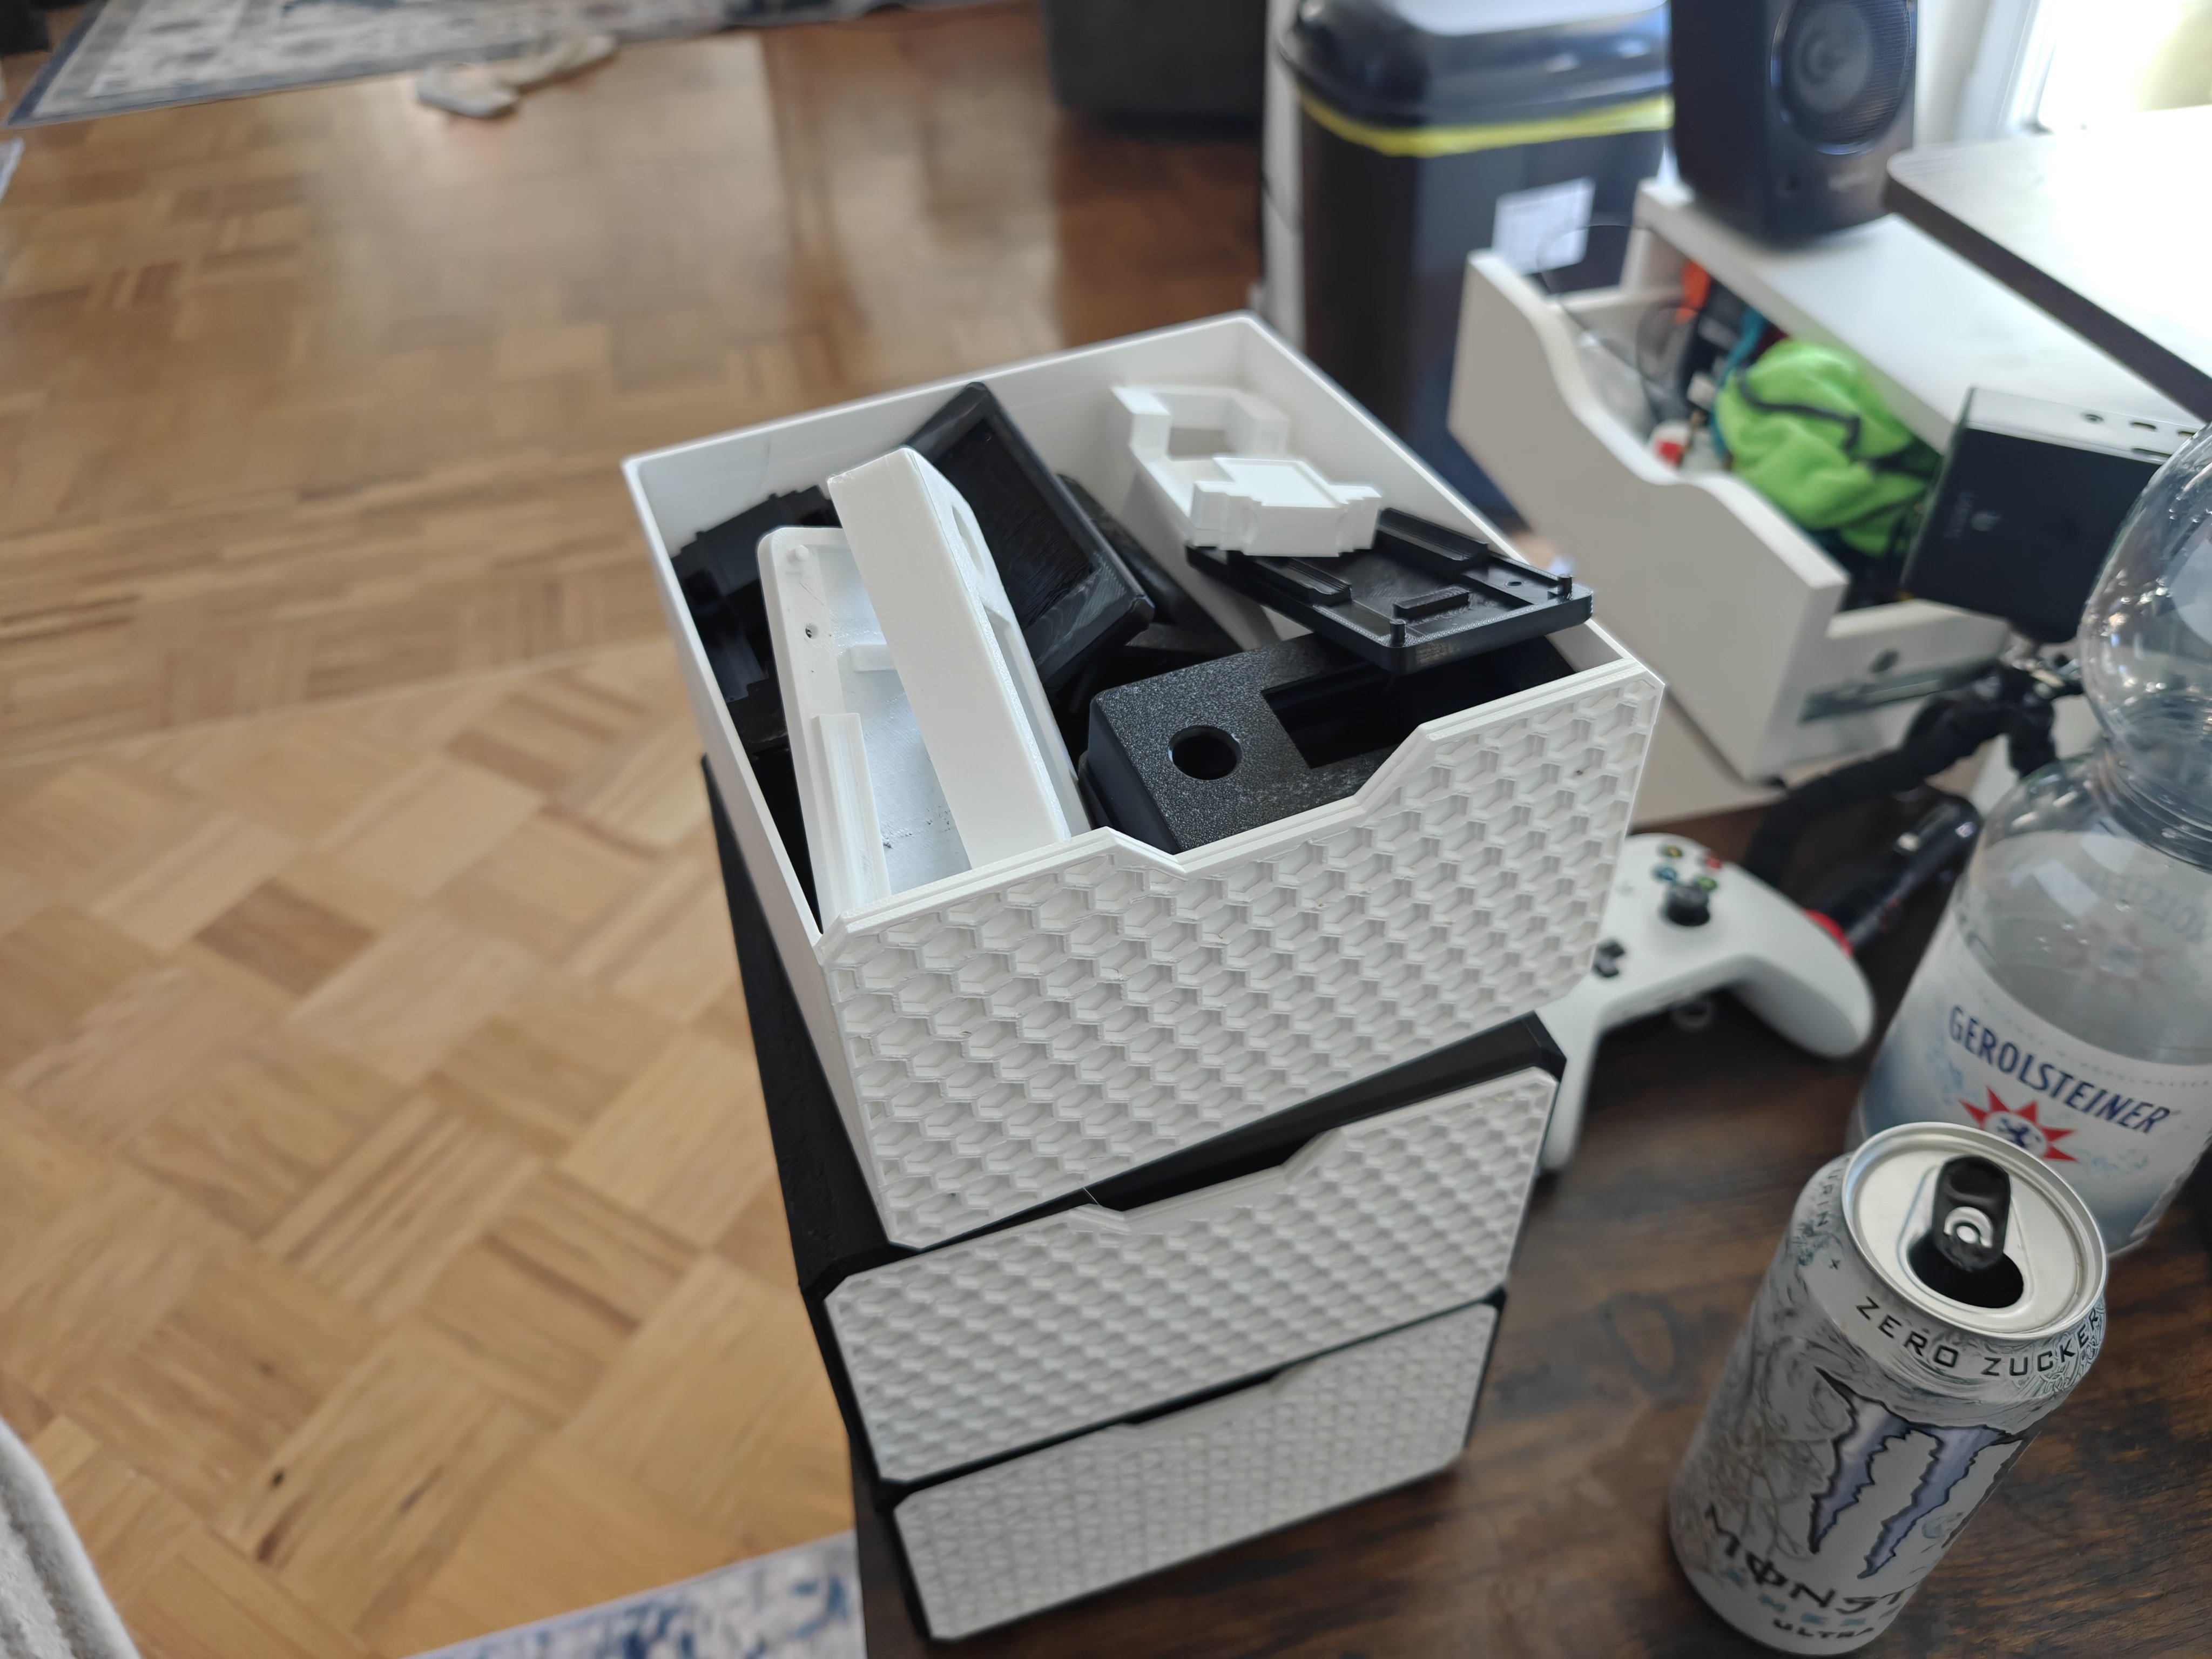
The build session also produced a full set of parts for both variants. All the white and black pieces organized in the printer's storage drawer — base plates, top covers, cradles, and thumbpieces ready for the next build.

What's Next
The hardware is done for now. The unit is soldered, battery-powered, USB-charging, and running firmware. Next steps:
- Order the joystick breakout PCB from JLCPCB (gerbers already exported)
- Wire the joystick to the Pico W's GPIO pins
- Start the game loop — state machine, input handling, mood transitions
- Evaluate battery life — how long does 350mAh last with the e-ink display and WiFi off?
The NoSolar variant is available as a FreeCAD macro at hardware-design/freecad-mk2/dilder_rev2_mk2_no_solar.FCMacro and as pre-exported 3MF files for each part.